When an organization migrates to M365 E5, setting up new devices correctly is critical for security, productivity, and compliance. In this guide, we’ll walk through the M365 device setup process designed for business and enterprise users. The example here focuses on a laptop owner with an E5 license, ensuring full access to advanced security, compliance, and collaboration features.
During this setup, if the device is connected to a network via wired Ethernet that meets all the required prerequisites, the provisioning process becomes seamless. As soon as Windows starts the Out-of-Box Experience (OOBE), the system automatically attempts to download the Windows Autopilot profile. This ensures that the device is properly configured with organizational policies, applications, and security settings right from the start.
By following this M365 E5 migration process, IT admins can streamline device deployment, reduce manual configuration, and deliver a consistent user experience across the organization. This approach not only saves time but also strengthens endpoint security, making it an essential step for enterprises adopting Microsoft 365.
Step-by-Step Process for M365 Device Setup
If the device is connected to the network (wired Ethernet) which meets the network prerequisites to pull of Windows Autopilot provisioning, then the device will try to get the Autopilot profile downloaded as soon as Windows starts the OOBE process.

As usual, the device does the Autopilot check as part of the OOBE ZDP Update process.

Provided the device successfully got the Autopilot profile downloaded, if the Autopilot profile
configures the OS Language (Region) and Keyboard, then the Windows 11 OOBE setup presents you
with the custom branded Azure sign-in dialog as below.


Log in to your Microsoft account or application.
You’ll be asked to open Microsoft Authenticator and approve the request to sign in.
The message will include a number that you’ll need to enter in the app.

As the user enters credentials to authenticate, in this case, the provisioning is taken over by the
Azure AD join mechanism.
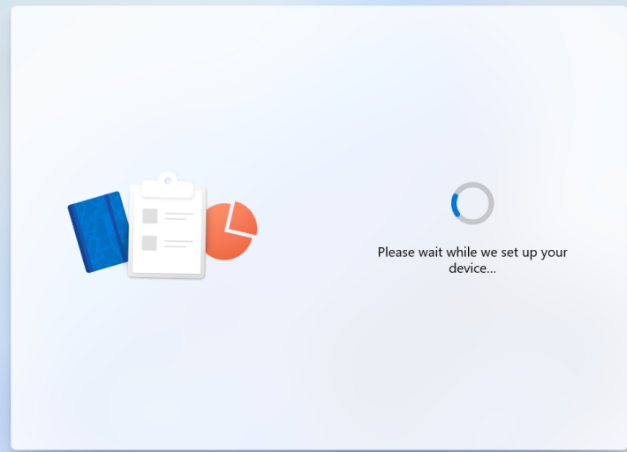
The Windows 11 OOBE setup shows the above screen shortly before you get presented with
the ESP screen.
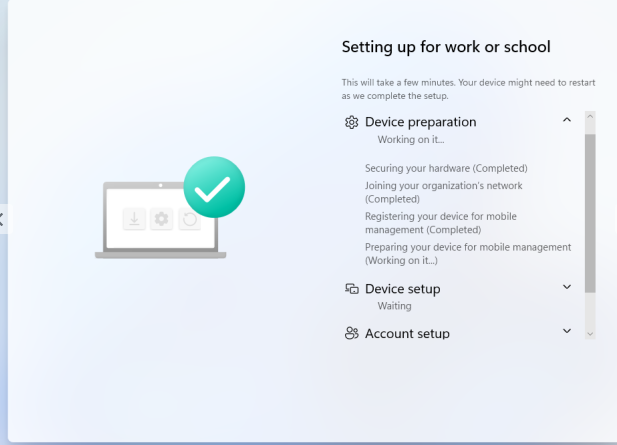
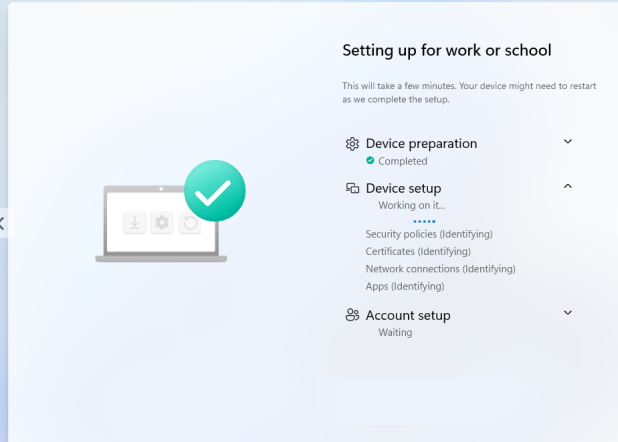
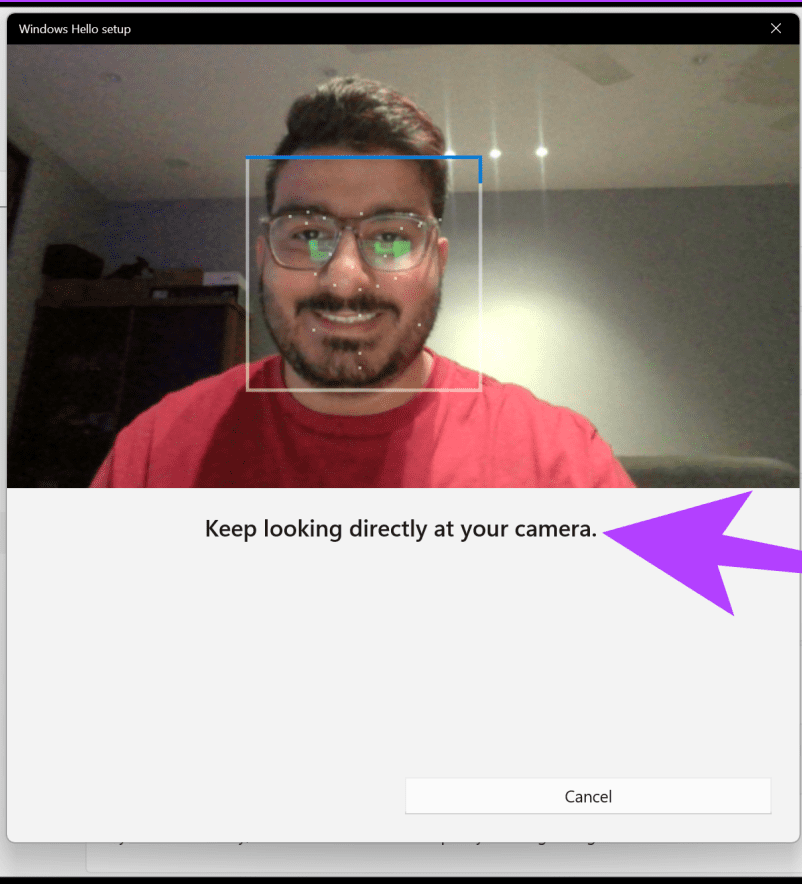
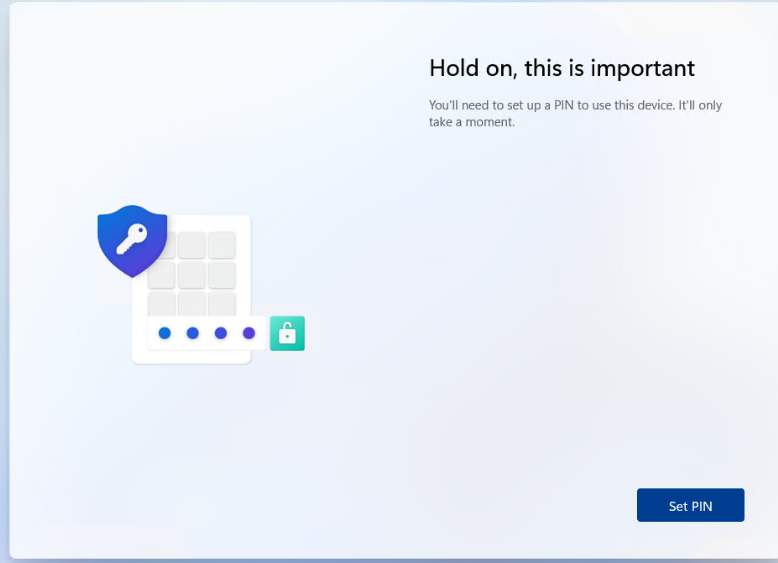
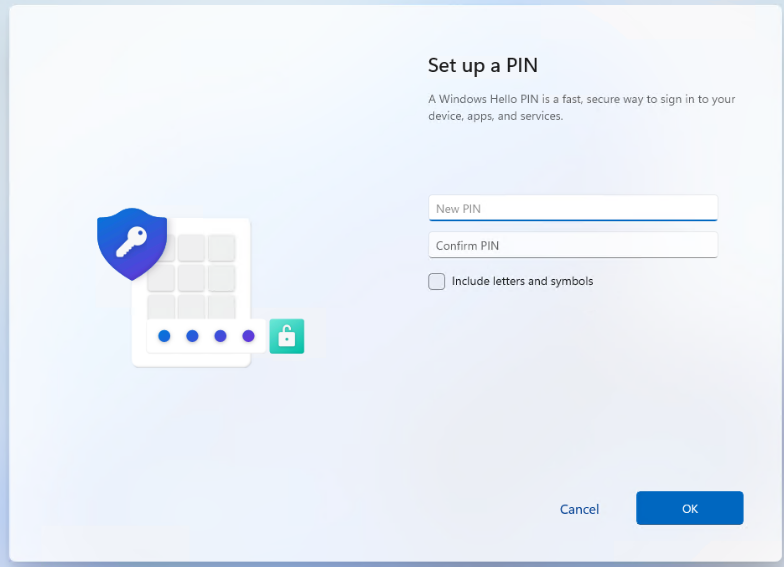
Your organization requires you to set up your work or school account with Windows Hello Face,
Fingerprint or PIN.
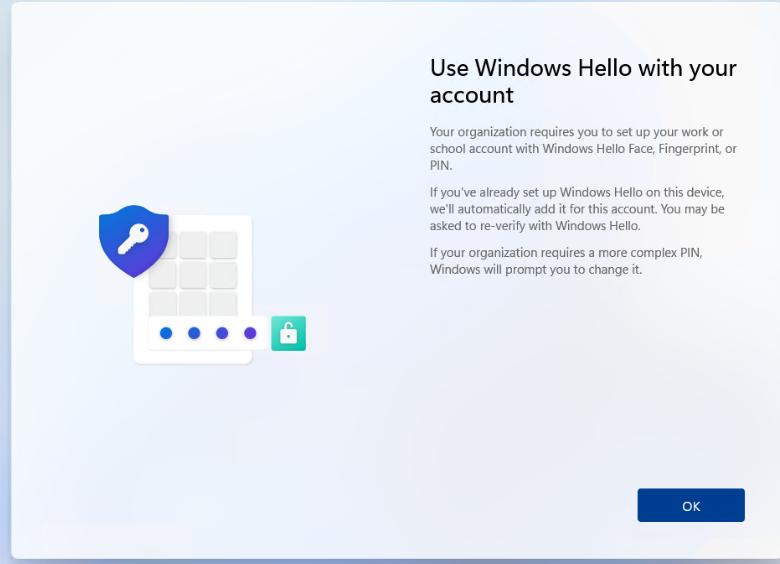
Windows Hello – Set up face
Windows Hello – Set up a PIN
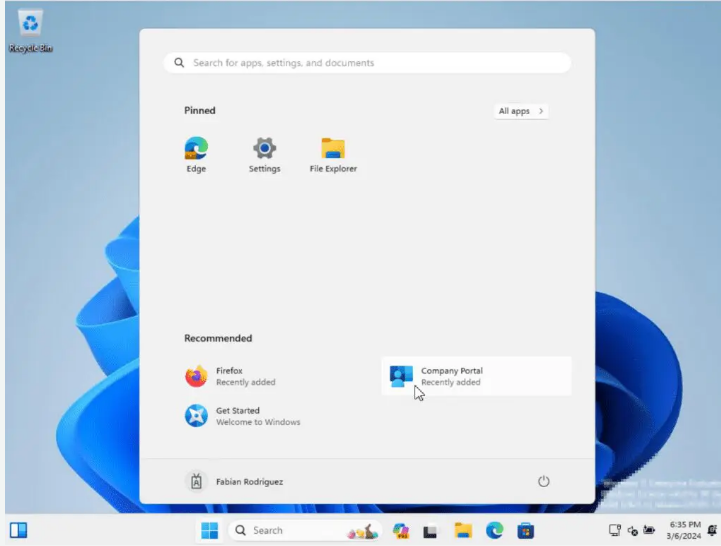
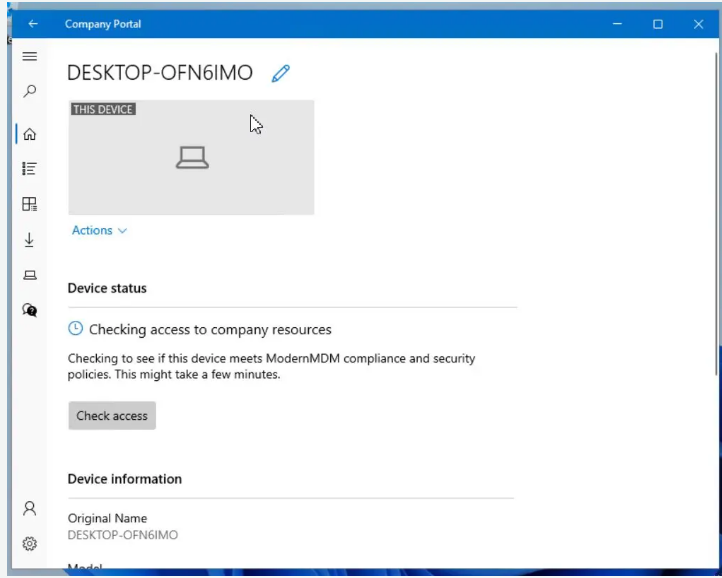
Sync with azure click Check access button
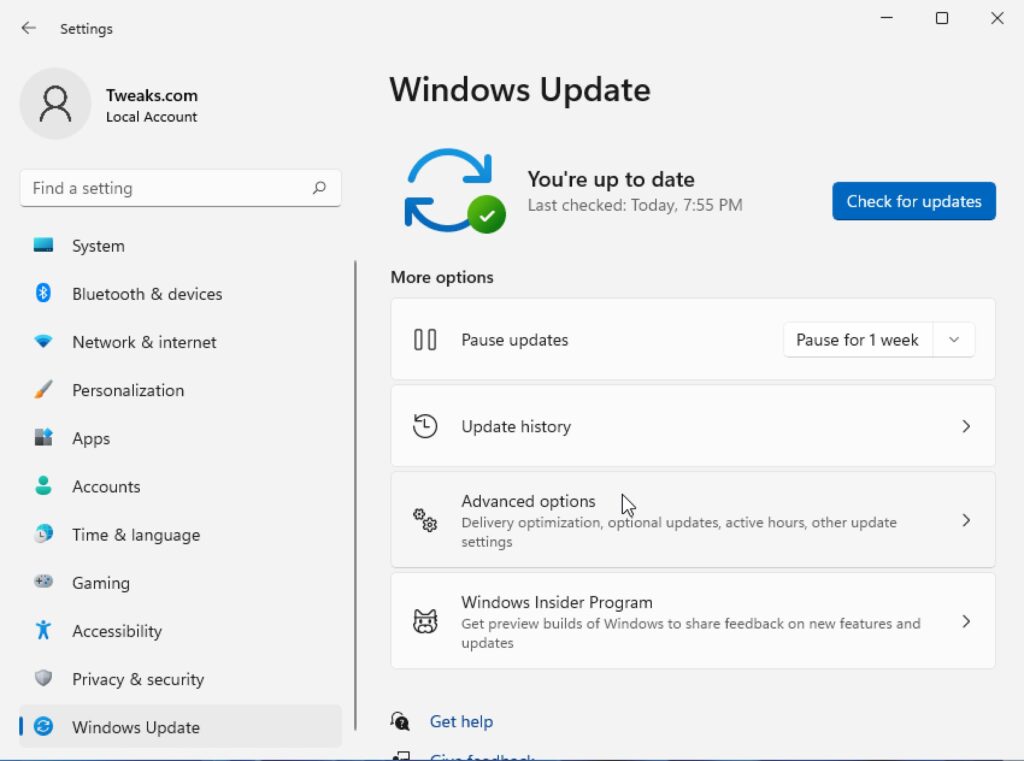
Make sure update your Laptop before use it.

fnit43